Automatically upload files to eCourtDate using Secure File Transfer Protocol
Use SFTP to auto-upload files from an internal system such as your case management.
SFTP is a secure means of connecting to servers and transferring files. This article should be used by IT professionals who are already familiar with technical concepts such as servers, SSH, and firewalls.
Prerequisites:
-
A configured Upload Template that you've successfully used to upload files manually. SFTP automates the manual transfer using the same Upload Template.
-
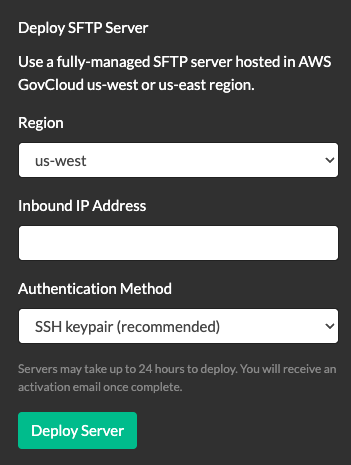
A source server that is accessible by eCourtDate to transfer files from. If you want us to provide a server, use the Deploy SFTP Server to request an eCourtDate-managed server.
Steps:
Step 1: Log in to the Console: https://console.ecourtdate.com
Step 2: Click on SFTPs in the top navigation:
Step 3: (go to Step 5 if you have an existing SFTP) Click on Add SFTP:
Step 4: Choose the Region / Agency and click Add SFTP:
Step 5: Click on the desired SFTP name to edit:
SFTP Settings
Auto-Upload Enabled: Check this setting when you are ready to auto-upload files from the source directory. We check for new files every 30 minutes.
Example: if you wish to upload one file per night, eCourtDate will auto-upload the given file within 30 minutes from when it's uploaded.
-
SFTP Name: an internal name for organizational purposes.
-
Region: the target region to upload files to.
-
Agency: the target agency to upload files to.
Connection Settings
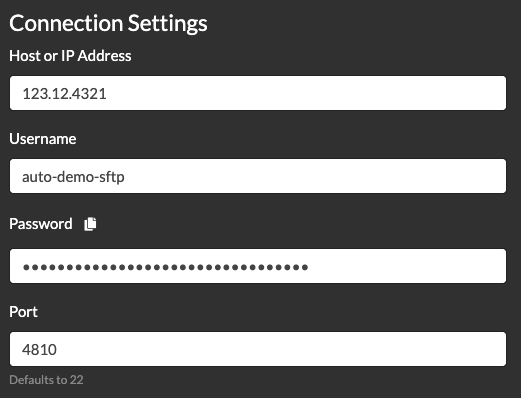
If you were provided an eCourtDate server, these settings may already have populated. Otherwise, fill in the credentials as required.
To use an SSH key pair, add the private key content (password is not required if so):
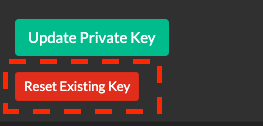
If you have an existing SSH key, click on Reset Existing Key to make a change:
Source Directory: enter the path relative to the user's home directory.
Example: /home/ubuntu/court-uploads
Upload Settings
Delete File After Upload: (recommended) enable this checkbox to auto-delete the file in the source directory after it's successfully uploaded.
Upload Template: choose the desired Upload Template.
Note: if you change the Agency, save the change before changing the Upload Template.
Filename Keyword: (optional) Use this setting to filter files in the source directory based on a keyword.
We recommend using the Filename Keyword setting to prevent uploading unexpected files. Otherwise, any non-hidden system file in the source directory will be uploaded (including files in subdirectories).
Max Files per Upload: for most use cases, this setting should be 1 file per upload to ensure files are processed sequentially. If your use case does not require sequential processing, this setting can be increased to 10.
Failure Grace Period: SFTP may have intermittent issues during normal connections. In these cases, we auto-retry failed connections/uploads and only notify you if the grace period has been exceeded.
If you plan on hourly/daily uploads, this setting should remain the default 24. For less frequent uploads, such as weekly, you may want to adjust to 120.
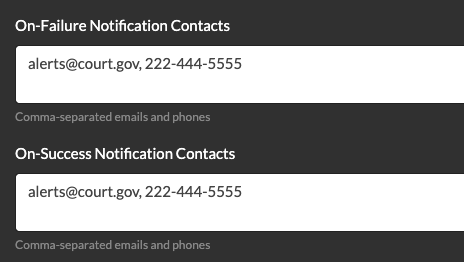
On-Failure/On-Success Notification Contacts: comma-separated list of phones and emails to receive relevant notifications. We recommend using at least On-Failure to be aware of any failed connections/uploads.
The contacts do not need to be eCourtDate users.
Note: you may configure multiple Console SFTPs using the same server. If you do, each SFTP should use either a unique Source Directory and/or Filename Keyword.
Sync Files
Use the Sync Files button to trigger a one-time sync of the source directory (does not require Auto-Upload to be enabled):
Duplicate SFTP
Use the Duplicate SFTP button to duplicate the current SFTP to a new SFTP (does not enable Auto-Upload on the new SFTP):
SFTP Connection Status
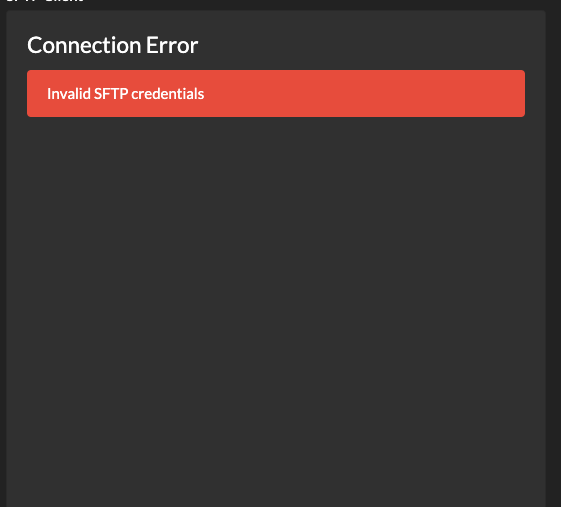
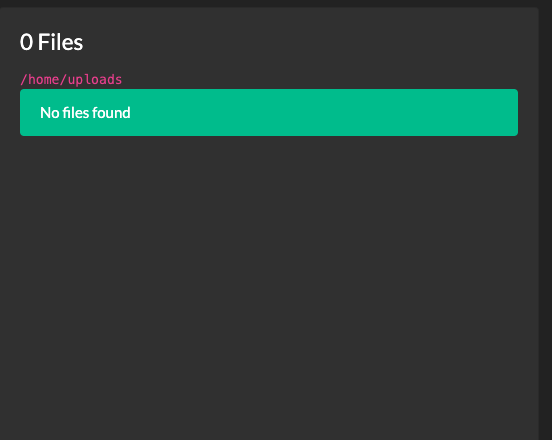
Depending on the connection and upload settings, here are examples of various connection statuses:
Example invalid SFTP credentials connection error:
Example SFTP successful connection, with no files in the source directory:
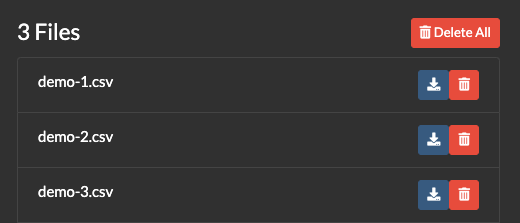
Example SFTP connection when there are files in the source directory:
-
Use the Download button to save the file to your computer.
-
Use the Trash button to delete the file from the server.
-
Use the Delete All button to delete all files in the source directory.
Recommended File Name Format
We require that each file has a unique filename. The following format is recommended:
YYYY-MM-DD-HH-MM-{filename}.{extension}
2022-10-05-14-30-uploads.csv
